Showing posts with label my designs. Show all posts

Sunday, October 2, 2011

Scary Squares Halloween Table Topper

Here is the third pattern I was hoping to have ready a few days ago for the launch of my Etsy Shop

It's a Halloween Table Topper, made using most of a Charm Pack, and some extra black 5" squares for the embroidery panels.  The fabric is Haunted Mansion by Sanae

The pattern includes instructions for how to do the spider web quilting design.  I have to say that I'm rather pleased with how that came out!  My free motion quilting skills are definitely improving.

I guess now I'm allowed to buy some more Halloween fabric for next year!

Have you got any Halloween crafts in the pipeline?

Saturday, September 10, 2011

Mini Book Bag - Tutorial

Today I went to a 1st birthday party for one of the bub's in my mums' group and wanted to take a gift.  I hate giving "more toys" because most kids these days have too many.  I'd given books as a gift previously so wanted to do something a little different.  I decided on making a mini book bag.  It's not big enough to be a school library bag, but is great for toddlers small board books, and I'm sure it will get used for all sorts of other things too.
His mum loved it and was showing it around to everyone.  She even said to someone "did you see this?  Oh, you did... will here, see it again!"
It's a great little item that's quick and easy to make, and turns into a really special, personalised gift.

A note on size
There are three books in my bag, the largest is 6" x 7-1/2" and all the books together are 1" thick.  My finished bag is approximately 7-1/2" wide x 9" tall and the books just fit nicely.  You can make your bag any size you want depending on what size books you have.  Just cut your fabric 1" larger in both directions than your desired finished bag size.  If you make the bag wider you will also need to allow extra twill tape for the handles.  When considering size, don't forget to factor in the thickness of the books as well as the height and width.

What you'll need
2 rectangles of main fabric 8-1/2" x 10"
2 rectangles of lining fabric 8-1/2" x 10"
2 rectangles of batting  8-1/2" x 10"
2 pieces of 1" wide twill tape, each 12" long
Embroidered name panel (optional)
I made my name panel using the built-in fonts in my embroidery machine, and then trimmed the panel leaving 1/2" all around the name.  You could easily hand embroidery a panel, use fabric paint/pens/crayons or even screen printing.

Fold over 1/4" all around the name panel and press.  I like to add scraps of fusible web to the back (which I save specially) to help hold the piece in place when I'm sewing it down.

Position the name panel where you would like it and press it onto the bag front then sew close to the folded edge.

Lay out your fabrics in the following order from bottom to top (as shown in photograph):
Wadding
Bag back - right side up
Bag front - wrong side up
Wadding
Make sure all your fabrics align around the edges, I have just laid them out like this so you can see which layer goes where.

When all edges are matched up, sew down one long side, across the bottom and back up the other side with a 1/2" seam allowance.

Place your two lining pieces right sides together.  With a seam allowance slightly larger than 1/2", sew down one long side, across the bottom, then 1"-2" up the other side.  Reinforce your stitches (reverse) and then stop sewing.  Sew 1"-2" down from the top on that side, ensuring you reinforce at the edge of the opening. (Click on the image for a better view)

Trim the corners on your bag and lining pieces, ensuring you don't cut too close to your stitching.

Turn the bag (with wadding attached) right side out, but leave your lining as it is.  Pin your handles to the outside of the bag.  The handles should fall down the side of the bag which raw edges lined up to the raw edges of the bag (back handle is folded up for photo only).  I've placed my handles 1"-2" in from the side seams, you may need to adjust this measurement if you have changed the size of your bag.  Baste handles in place if you like to baste things (I just use pins)

Place the bag with the handles inside the lining.  Match up the side seams and pin in place.

Sew around the top edge with a 1/2" seam allowance, reversing over the handles to reinforce.

Trim the wadding from the seam allowance to reduce bulk

Pull the bag out through the opening in the lining, then push the lining into the bag (get it right down into the corners) and check the top edge.  If the lining rolls to the outside too much you can turn it all inside out again through the opening and increase the seam allowance along the bottom edge of the lining.  In my case, it was just right, the little bit of roll you see will be fixed with a good press.

Pull the lining out of the bag again and lay flat.  Press the seam allowance in the opening and make sure the two edges line up neatly.

Top stitch the opening close to the edge.  If you prefer a neater finish you can slip stitch the opening closed by hand.

Push the lining back into the bag, remembering to tuck the corners right down into the bottom.  Press the top edge neatly and fill with books!

Monday, August 8, 2011

Wee Folk Quilt Finished

Finally!  Remember how I finished the top all the way back in May?  Well now it's all complete.
I know it was on the bottom of my to-do list, but somehow it got finished first.  I knew what I wanted to do and I had the right colour thread so I went and did it.

I took a leaf out of Red Pepper Quilt's book and went with a striped binding and simple straight line quilting.

I also used the striped fabric for the backing.

Don't forget you can download my free embroidery patterns for this quilt on my Free Patterns/Tutorials page (link at the top of my blog)

Wednesday, August 3, 2011

Take-away Menu Holder

I recently made a take-away menu holder to help keep the kitchen tidy and I thought I'd share it with you in the form of a tutorial.

What you'll need

  • Main fabric - one fat quarter
  • Medium to heavy weight iron on interfacing 7-1/2"x9-1/2"
  • Binding fabric - 2"x15" for pockets, 2"x35" for outside edge
  • Matching sewing thread
  • Magnetic paper  - 6-1/2"x8-1/2"

This will make a menu holder large enough to hold A5 size menus (approx 6"x8-1/2").  Ours holds about 9 menus all together and holds comfortably on the fridge.

Cut 3 rectangles of fabric 7-1/2"x9-1/2", cut one rectangle of interfacing the same size

Cut one of these rectangles of fabric into two, 7-1/2"x6-1/2" and 7-1/2"x3".  These are your front pockets.

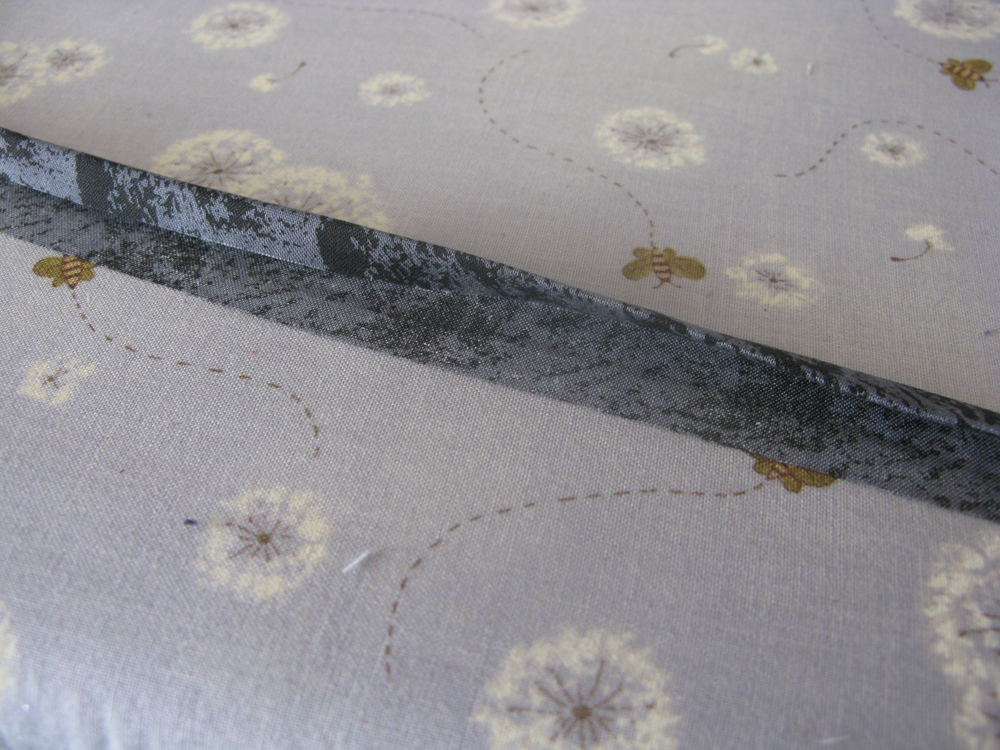
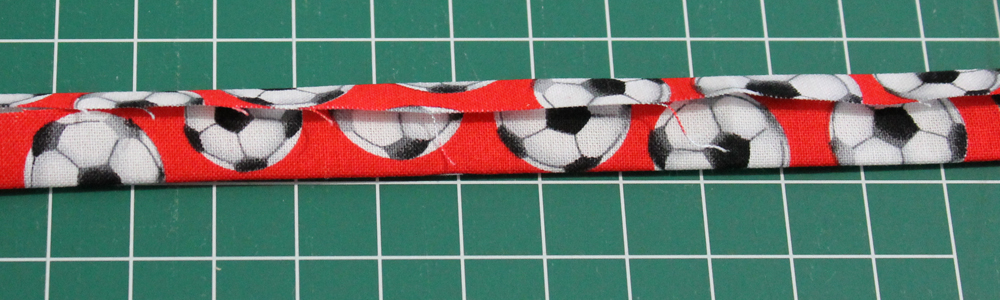
Cut 2 strips of binding fabric 2"x7-1/2" long each.  Press the long sides into the centre, wrong sides together, creating a single fold binding (use a bias tape maker if you have one) and then press in half.

Unfold and attach one side to the WRONG side of your pocket pieces.  Ensure you are attaching it to the top edge of the pocket.  (I didn't cut my binding to length until after I attached it).

Press the binding over to the right side and top stitch down.

Lay out your fabric on top of each other in this order (bottom to top):
  1. Rectangle without interfacing, wrong side up
  2. Rectangle with interfacing, right side up
  3. Large front pocket, right side up
  4. Small front pocket, right side up
    Ensure that all layers line up along the bottom edge/corners
    (ignore my stitching on the back layer, that was something that didn't work in the end)
    Pin these layers together, or if you prefer, sew around the outside edges with a 1/8" seam allowance

    Cut a strip of main fabric 1-1/2" wide x width of fat quarter.  Fold in thirds, wrong sides together, so that the inside raw edge is against the crease but the outside raw edge falls in the middle of the strip.

    Zigzag over the raw edge with matching thread.

    Cut the strip into 4 equal lengths.  Arrange them on the back of your menu holder as shown in the photograph, with the top and bottom points in the centre of the rectangle.  Ensure that all raw ends of the strips are outside the edge of the rectangle (they must be caught into the binding).  Pin or baste in place.

    Cut a length of binding fabric 2" x approx 35".  Fold and press as above, then fold and press a 1/4" hem on one short end.  Starting with the end of the binding that you just pressed the hem on, attach binding to the back, mitering the corners as you go.  When you reach the beginning again, overlap the end of the binding as per photo.

    Press the binding over to the front of the menu holder, ensuring that the raw edge is tucked under the 1/4" hem.

    Top stitch the binding down from the front.

    Cut a piece of magnetic paper approximatly 6-1/2"x8-1/2" and slip under the straps on the back.

    Attach to fridge and insert your menus.

    Order pizza and enjoy the rest of your evening!

    Tuesday, July 26, 2011

    So Far Behind.... BUT!!

    I've finished!!!
    The kid's quilts that is.

    I might be behind in my Civil War Blocks, have a tutorial to write for Jane's Desperate Housewife's Quilt, and have some patterns to write for my June Challenge, but these cuddly quilts are now in the post on the way to my niece and nephew for their birthdays.
    My nephew's birthday isn't till September, but since they were both getting the same thing I decided to send them together, with a note saying he can choose to open his at the same time as his sister, or he can wait till his birthday.
    I went with straight line quilting 1/4" in from the block seams to make it easy, and also quilted inside each section of the puppy, plus around the dinosaurs using my new open-toe free-motion foot.  She's a beauty and I'm glad I bought her.  Was a treat to myself the other week when I had time for browsing in the shop.
    photo courtesy of here 
    The labels on the back where both made in the appropriate foot print, and both quilts have flannel backings for cuddly-ness.
    I machine stitched down the binding from the front so they are more durable in the wash (and in play).  I have machine sewn binding before but wasn't very impressed with the results.  These quilts though, came up really well and I think I will use this method again, not only for it's wear factor but also the speed in construction factor!  I had both bindings sewn down within an hour (they'd been attached the day before).

    They did finish up very cuddly, and I wish I could be there when the presents were opened, but I guess I just have to wait to hear how they liked them.

    Now I have lots more catching up to do, but I'm still doing paid work so time in the sewing room is limited.  One advantage is that I'm earning lots of spending money for the Craft and Quilt Fair this weekend.  Expect a post with lots of goodies soon after !

    Oh, and whilst I was taking photos of quilts, I had a little helper:
    And the sun was so nice outside I got a photo of my red hot poker plant too

    Friday, July 15, 2011

    Baby Hand Print Tutorial

    Here is a tutorial for the baby hand print mini quilts which I made for Mother's Day this year.


    What you'll need
    (measurements in brackets are what I used, but it depends on what size/shape you make your design)

    • white/light background fabric [5"/12cm square]
    • water-soluble fabric marking pen (or your preferred marking method)
    • iron-on pellon [5"/12cm square]
    • stranded embroidery thread(s)
    • coloured fabric [9"x44"/23x112cm(width of fabric): 1-1/2"/3.5cm strips for border, 7"/17.5cm square backing, 2"/5cm strip for binding]
    • batting [7"/17.5cm square]
    • matching sewing thread
    • quilt basting spray
    • hanging ribbon (optional) [9"/23cm]


    Trace your child's hand onto paper with pencil, go over it with black pen.  If you don't trust your hand writing, print out the name and date from your computer so you can trace that.


    Decide on a layout and trace the hand print and writing onto your chosen backing fabric using your preferred marking method (I use a water soluble pen).  Ensure that you leave at least 1/2"/1.5cm around the outside edge.  I traced my design onto the fabric before cutting it out so I could work out how much space I wanted after it was all put together.


    Iron the pellon onto the back of the fabric.  Embroider the design using backstitch and two strands of your chosen thread.  Use a french knot if you wish to dot any "i"s.
    Once your design is complete, you can wet your embroidery with a spray bottle to remove the marking pen.

    Measure your embroidered square from top to bottom through the centre (square up your block if it has distorted from the embroidery).  Cut a 1-1/2"/3.5cm strip of your coloured fabric.  Cross-cut 2 strips the height of your embroidery block.  Attach strips to sides of your block, press the seam towards the coloured strips

    Measure your block from left to right (including the coloured strips) through the centre.  Cross-cut 2 strips the width of your block.  Attach strips to the top and bottom, press seams towards the border.

    Cut wadding and backing roughly the same size as your finished block.  Spray baste the three layers together.  Quilt around the embroidery panel, 1/4"/6mm inside the border with matching thread.

    Cut a strip of fabric 2"/5cm wide and press wrong sides together lengthwise.  Attach this binding to your mini quilt, mitring the corners as you go and leaving a gap for joining along the bottom edge.  Jenny of Elefantz does a lovely tutorial on binding a mini quilt, although she joins her ends slightly different to mine.  You can access her tutorial from this page.

    Lay out the two ends of the binding and fold back so that it meets in the middle and press well.

    Open out the binding and join the two ends along this fold.  Trim the seam allowance to 1/4"/6mm and then press the binding back in place.

    Finish attaching the binding to the quilt, then trim the backing and batting level with the quilt top. (Make sure you don't accidentally trim the binding as well!)

    Press the binding over to the back of the quilt and slip-stitch into place.
    And your done!
    (although if you find a fault in your fabric after you've cut your binding strip, make sure and fold it to the inside, rather than making it end up on the top right-hand corner of your work, like I did).

    If you would like to hang your mini quilt, you can hand sew a hanging ribbon on the back like so:

    There are many different options for layout of the hand print and words, it all depends on you.

    LinkWithin

    Related Posts Plugin for WordPress, Blogger...